How to Create a Password Reset Disk
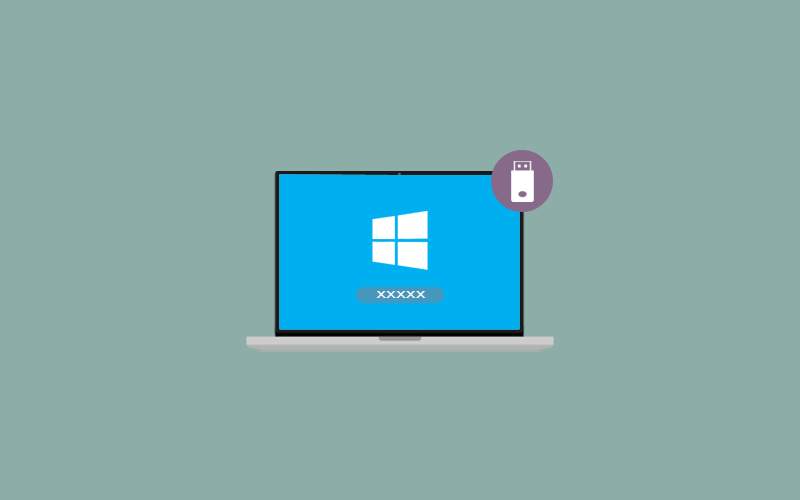
In the event that you forget your password, a password reset disk helps you to access your account on a local computer by resetting the password. When you make a password reset disc, you can reset your password regardless of how many times you've changed it. But, some of the users still don’t know how they can make a password reset disk on a computer, and therefore, they ignored it. But, no more ignorance, in this article, we discuss how to create a password reset disk on Windows computer for versions 10, 8, and 7. Read on.
Before you go-ahead
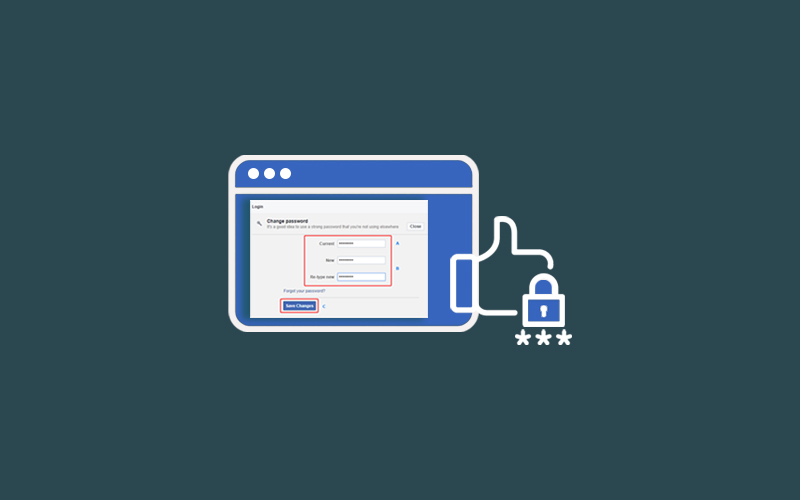
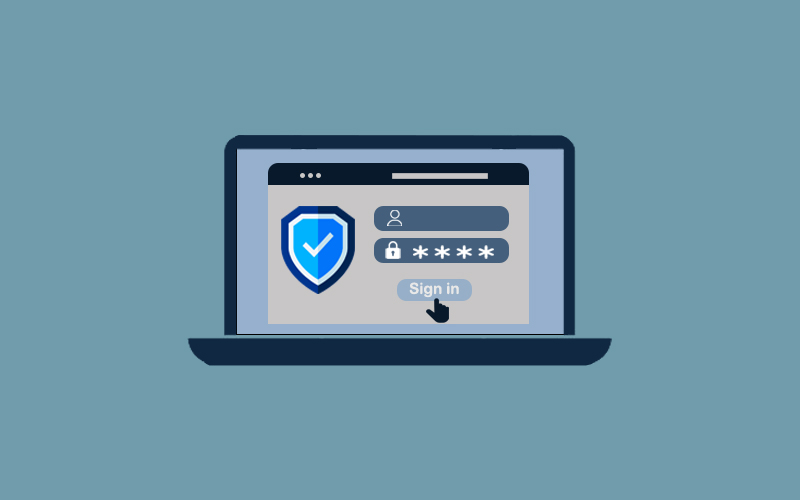
Password is a security that secures your data from being compromised, but your password also needed protection. And that can only be provided by Waredot Antivirus. It protects your system, software, files, folders, and notes and takes action before happening any disaster to your data.
How to Create a Password Reset Disk on Windows 10
You can create a password reset disk using the forgotten password wizard in Windows computers. Most of the steps are common on every version of Windows, instead of option name and place. Figure it out.
Instead of depending on local-only accounts, Microsoft made it possible to link a user account to a Microsoft Account in Windows 10 and Windows 8. If your account is linked to your Microsoft Account online, you can easily update or reset your password. A password reset disc is only required if your account is local-only, which is not the case for most home users.
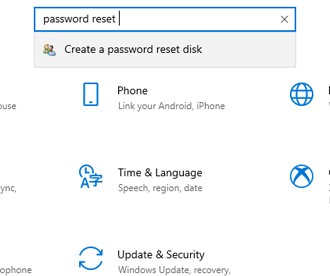
1. First of all, press Win+I on the screen to open the Setting. Or use the search bar option and type Setting and hit Enter.
2. Now, type the password reset disk in the Search box at the top of the Windows Settings screen-Microsoft has hidden this utility in the recent version of Windows 10. You will find the option “create a password reset disk,” click on it.
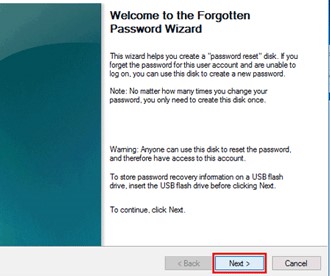
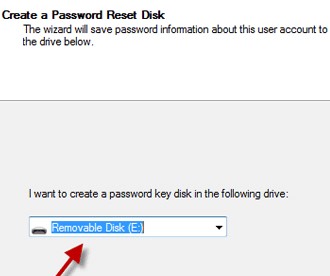
3. When the forgotten password Wizard window appears, click Next Now, under “I want to create a password key disk” in the following drive-drop down box, you have to choose portable media drive on which to create a Windows password reset disk. You will only see a selection menu here in case you have more than one compatible device attached. If you have just one, you’ll be told the drive letter of that device, and that it will be used to create the reset disk.

4. Now, click Next. Enter your current account password in the field and click Next. If you’ve ever used the same disk as a different password reset tool for other user accounts, then you’ll be asked if you wish to overwrite the existing disk.
5. When it’s done completely, click Next and then tap Finish button in the next Window. You can now remove the flash drive or floppy disk from your computer. Keep the disk safe for future use.
How to Create a Password Reset Disk on Windows 8 and Windows 7
If you’re using Windows 8 or Windows 7; follow the steps to create a password reset disk.
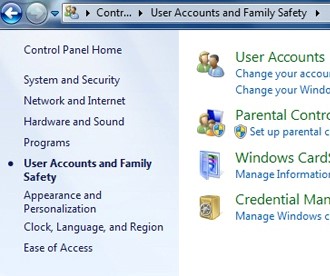
1. First of all, open the Control Panel on your computer. To do so, use the search bar option and type Control Panel, and hit Enter.
Alternatively, launch the Power User Menu by pressing Win+X.
Note: To open the Control Panel on Windows 7, click the Start menu and then click Control Panel.
2. Now, tap the User Accounts and Family Safety link. Select the User Accounts link. Make sure to obtain a flash drive or a floppy disk drive and a blank floppy disk.
3. Now, if you’re using more than one account on Windows, you have to choose your account for which you want to create a password reset disk. Choose your account from the “or pick an account to change” section at the bottom of the User Accounts Screen.
4. Click on the Prevent a forgotten password link from the left pane. When the forgotten password Wizard window appears, click Next.
5. Now, under “I want to create a password key disk” in the following drive-drop down box, you have to choose portable media to drive on which to create a Window password reset disk. You will only see a selection menu here in case you have more than one compatible device attached. If you have just one, you’ll be told the drive letter of that device, and that it will be used to create the reset disk.
6. Now, click Next. Enter your current account password in the field and click Next. If you’ve ever used the same disk as a different password reset tool for other user accounts, then you’ll be asked if you wish to overwrite the existing disk.
7. When it’s done completely, click Next and then click Finish button in the next Window. You can now remove the flash drive or floppy disk from your computer. Keep the disk safe for future use.
Note: Giving a name to reset disk such as Windows7 password reset disk, or Windows 8 password reset disk will help you to identify what it's for.
Summary
Hey guys! This was the guide about “how to create a password reset disk.” In this article, we’ve discussed the instructions to create a password reset disk for Windows 10, 8, and Windows. If you also don’t want to lose your data, then you should also create a password reset disk. Follow the instructions mentioned in this article and secure your data on the disk.
Hope you find this article helpful and informative. If you’ve any queries regarding this article, please let us know in the comment section. We would be glad to answer you!

Secure You PC Now With Award Winning Security.
Protects your PC from viruses, spyware, Trojans and other malicious programs.
 FREE DOWNLOAD
Available in Windows 11, 10, 8, 7, Vista, XP